Do you also own a laptop but you are not satisfied with the size of the screen you are working on? Or are you a multi-tasker and in need of multiple screen but can not afford a multi-screen pc? You don’t have to worry anymore because today I’m going to tell you how to use IPAD as a monitor or as a second monitor.
An iPad is of no competition with a real monitor in terms of size or price, but having an iPad will enable you to use iPad as a monitor or as a desktop on your table by placing it on a stand. A software to double screen is available in less than $20 and including the stand, it is very cheap for a second monitor.
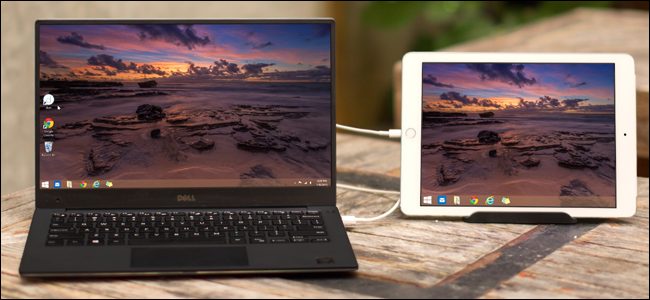
If you have apple’s 12″ MacBook, or MacBook Air, you can double your screen by using iPad as monitor or second screen. Using iPad as the monitor is an ideal solution for those who have access to small screens because it simply doubles the display, allowing you to be more productive.
But friends, let me warn you! This double screening is very addicting. Having used it for 2 years now, I find it very difficult to work on a single screen again.
You’d be glad to know that by a bit of some extra software, you can use iPad as a monitor for your MacBook, Mac mini or MacBook Air. But before that, let me add some benefits of setting up such a set up.
Pro’s to use iPad as a monitor
- Larger display.
- No extra cost on hardware.
- Boost productivity.
- It’s actually cool. 😉
Requirements to use iPad as a Monitor
- A lightning USB cable.
- An IPad.
- A software (such as Duet display, Display, air display).
- A Mac running on macOS 10.13.3 or earlier.
Apps and Software to Make iPad your Second Screen
There are many software available using which you can use your iPad as a monitor.
Make ipad your Monitor using Duet Display
You can use your iPad as a monitor just by connecting it with the help of the same lightning or 30 pin cable you use for charging.this makes the connection fast because the devices are directly linked and the videos and games are smooth which would have been lagging over wifi.
- Works best with iPad pro. also works perfectly on MacBook, iMac or even your PC.
- PRICE: $9.99
How to Use iPad as Mointor for Free using Splashtop
A desktop app which gives you access to your computer from your Android or IOS devices.
- Compatible with all IOS models running on IOS 9 or later.
- Needs a WiFi/3G/4G connection.
- Desktop sharing.
- View RDP sessions.
- UI+stability upgrade, in-session toolbar.
- To install, click here.
- PRICE: FREE.
IDisplay
A paid app which turns your handheld device into an additional screen for your pc.
- Blazingly fast.
- Multi-touch on every platform.
- Smart screen resolution.
- Become more productive with more space.
- PRICE:$17.99
Use iPad as a Second Screen using Air Display 3
An app that transforms your iPad into a second screen for your mac.
- Rearrange your displays.
- Can air display using wifi and USB also.
- Draw with your pressure sensitive stylus.
- Pinch to zoom.
- Type using Air’s display keyboard or any other Bluetooth keyboard.
- You can control your Mac with intuitive iOS gestures: tap or drag to operate the mouse or tap, two fingers to right-click, and drag two fingers as a scroll wheel.
- PRICE:$9.99.
These were some of the apps which i feel are the best ones to use your ipad as a monitor as there are a lot of apps available in the market, you can choose the one best for you as per your choice.
So, I just gave you some basic info about some apps that you can use to use your iPad as a monitor.
Now I’m going to show how to set everything up in order to get things started.
How To Use Your Ipad As A Monitor
In the following example, I have explained how you can use your iPad as a monitor using “DuetDisplay”.
-
Download Duet Display on your IPad and computer:
- You have to download Duet Display on your iPad and your Macbook, also keep a lightning USB ready for the connection because honestly, you wouldn’t want to use WiFi because it creates too much lag.

- You have to download Duet Display on your iPad and your Macbook, also keep a lightning USB ready for the connection because honestly, you wouldn’t want to use WiFi because it creates too much lag.
-
Connect your Ipad:
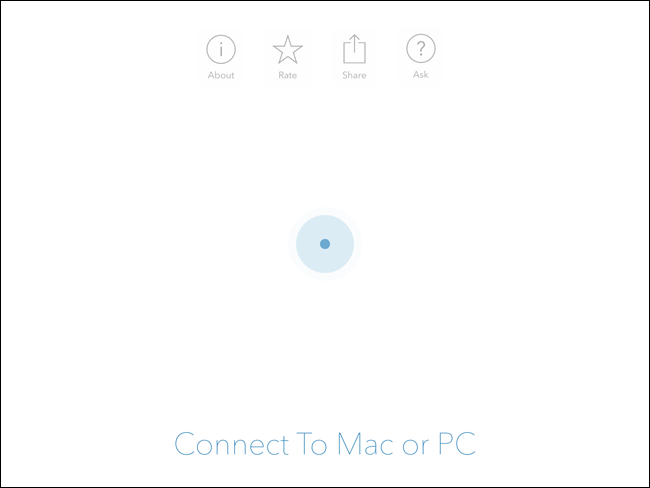
- After the downloading and installation, open the Duet Display server on your computer and then launch Duet Display app on your iPad.
- You will see the following screen.
-
- Now connect your iPad with the computer by plugging it using a lightning USB cable, and your iPad will light up with an extension of your Windows or your mac. If you’ll try moving your mouse to the right of the desktop, it will move into the iPad and also you can touch the iPad to control windows. ISN’T IT THE EASIEST!
-
Adjusting display settings:
- Once you are done installing and connecting your iPad with your computer, its time to change and adjust some display settings.Let’s start with your computer.
By default, the app considers your iPad to be on the left. But if you want it to be on the right, you can change it in the settings so that your mouse works properly.
To change these settings;- Right click on the desktop and then choose “display settings”.
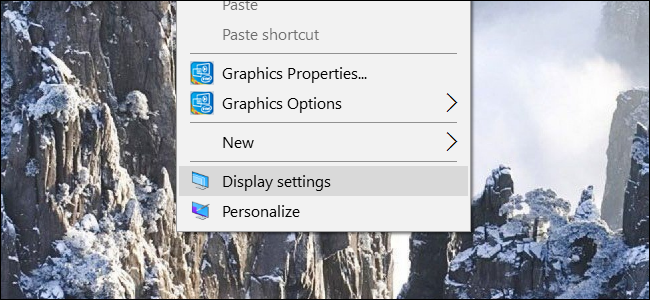
- On the screen, you’ll see two boxes or squares. One is representing your desktop and the other one is representing your iPad.

- Click on the square representing your iPad and drag it so as to place it on the screen as it is placed in real life.
- When done, close the settings.
- Right click on the desktop and then choose “display settings”.
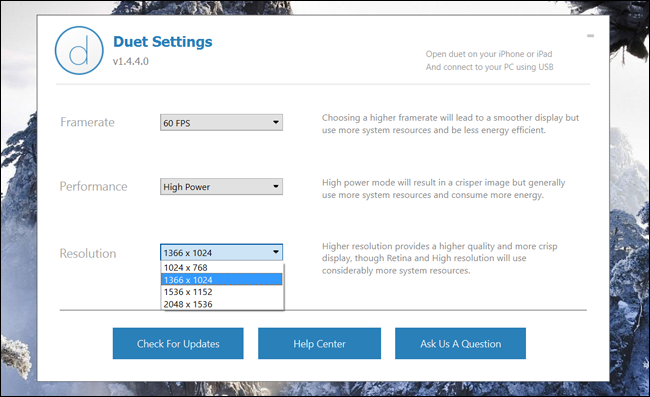
- Now, open Duet Display’s settings in your windows computer by clicking on its icon in the icon tray.
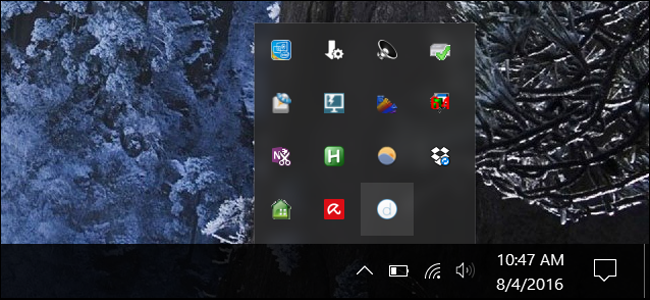
- If your machine is powerful enough, set the frame rate to 60 fps and performance at ‘high power’.
- But if your system barely meets the requirements of the app, therefore you can lower the settings in order to have a smooth experience and also to save some battery.
- Adjust the resolution, and for this purpose, try out different options and find the one that works best for you and keep in mind that, the lower you go on the resolution, lesser you will see on the screen.
- Once you are done installing and connecting your iPad with your computer, its time to change and adjust some display settings.Let’s start with your computer.
That’s it. Now you can easily use your iPad as a monitor screen.
What are you waiting for? Enjoy using your ipad as a monitor and if you have any queries related to mac, find all of them answered here on MacMetric.
![20 Mac Startup Keys and Combinations [Must Know] – 2024 Guide](https://www.digitalcare.top/wp-content/uploads/2020/11/mac-211x150.jpg "20 Mac Startup Keys and Combinations [Must Know] – 2024 Guide")

![Fix: Mac Error Code 43 Permanently [3 Ways] – 2024 Guide](https://www.digitalcare.top/wp-content/uploads/2017/12/Error-43-Mac-warning-211x150.png "Fix: Mac Error Code 43 Permanently [3 Ways] – 2024 Guide")