Everyone likes a high-performance OSX for their Mac, and Apple makes sure to roll out MacOS updates every now and then. These updates are crucial to the functioning of your PC as they significantly improve its performance. Suffice it to say, updates are extremely important and if you are a Mac user, they most definitely are.
But what if you encounter problems while downloading the update? Sometimes you may face a problem and error saying MacOS Could Not Be Installed On Your Computer. But don’t worry, because you have come to the right place! In this Article, we will be discussing the error ‘MacOS Could Not Be Installed On Your Computer’ and look at ways to fix it!
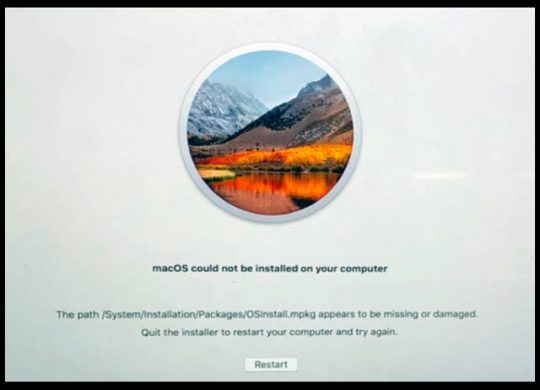
How to Fix MacOS Could Not Be Installed On Your Computer
This error is pretty common among users, and we have collected all of the popular ways that can be used to fix this problem. These solutions work for the latest Mac updates, including MacOS Mojave.
We will be looking at some minor things that you will need to make sure of because they too could be causing the error. So let us try them and if they don’t work we’ll move to more advanced solutions. Without further ado, let’s see how to get you some updates for your Mac!
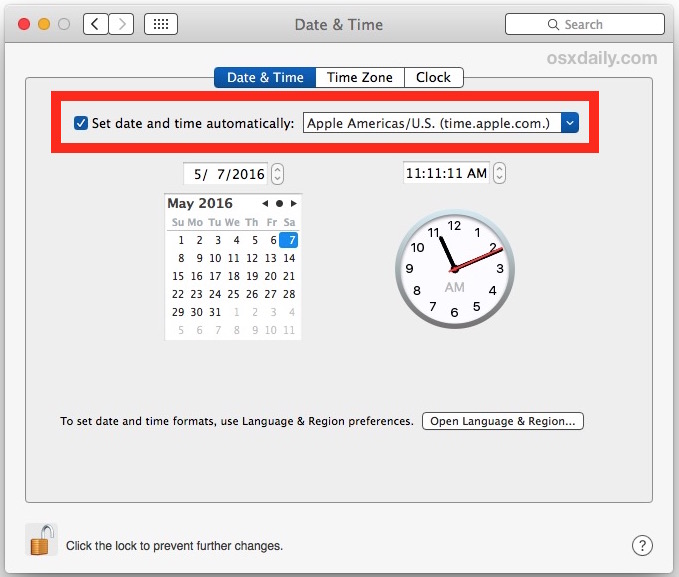
1. Checking Date/Time on Your Mac
Make sure to go to System Preferences, Date & Time, and check if the date and time are correct according to your current timezone and Date. You should set it to do this automatically. Let your Mac take care of it. Once you are sure that the Date & Time Settings are correct, try updating again and see if it works.
2. NVRAM Reset
Don’t worry, even though it sounds a little complicated, it’s not. For older Macs, NVRAM Reset is known as PRAM. To do an NVRAM Reset, follow the steps given below:
- Turn off your Mac
- Make sure to keep pressed the following four keys: Options, Command, P, R. Turn on your Mac.
- After about 30 seconds, release the keys
- Once your Mac boots up after restarting, Open System Preferences
- Check if any settings such as Volume, Display Resolution, Time Zone or Startup Disk Selection are reset.
Your Mac should now be able to install the Latest Updates.
3. Insufficient Storage
Sometimes, insufficient storage can also lead to the update causing problems. Try clearing out your storage and you can follow the guidelines here to free up some space on your Mac.
This should resolve MacOS Could Not Be Installed On Your Computer.
4. Downloading the Update Directly From Apple
This is one of the safest ways to fix your Updates Issue for Mac. However, you might have to wait for some time as this process takes time, though your system should be updated with no issues. Let us look at the required steps:
- Press and Hold the Option Key, then Go to the Mac icon on the toolbar at the top and click Restart
- You will observe a Startup Disk Selection Screen
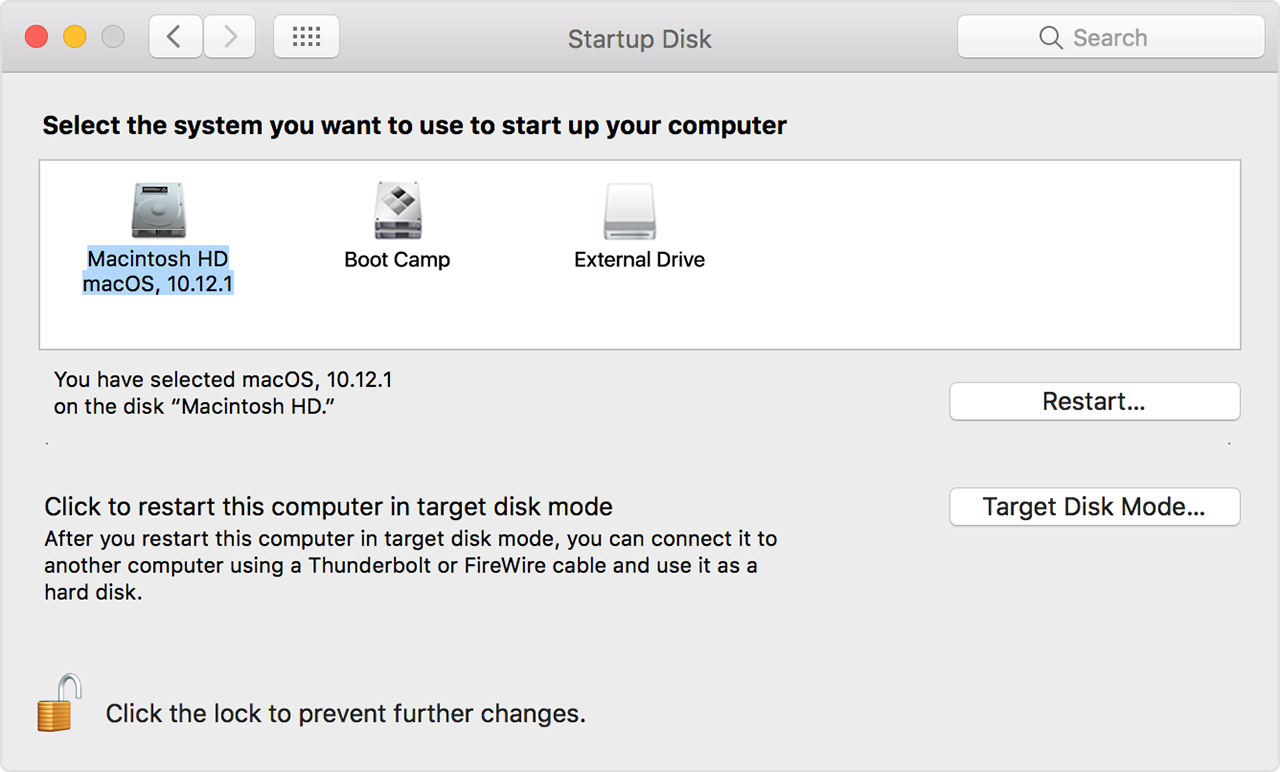
- Choose your Main Hard Drive (In the above case, it’s Macintosh HD)
- Now your Mac should boot up as usual. Once it is done, open Safari and follow the link given below:
https://support.apple.com/downloads/macos
- You will find a list of the latest MacOS updates. Choose the Latest one and Download it.
- Once it is downloaded, open it and install with the help of the on-screen prompts.
That’s it! The update will start, and it is going to take some time. But your Mac will be updated to the latest version!
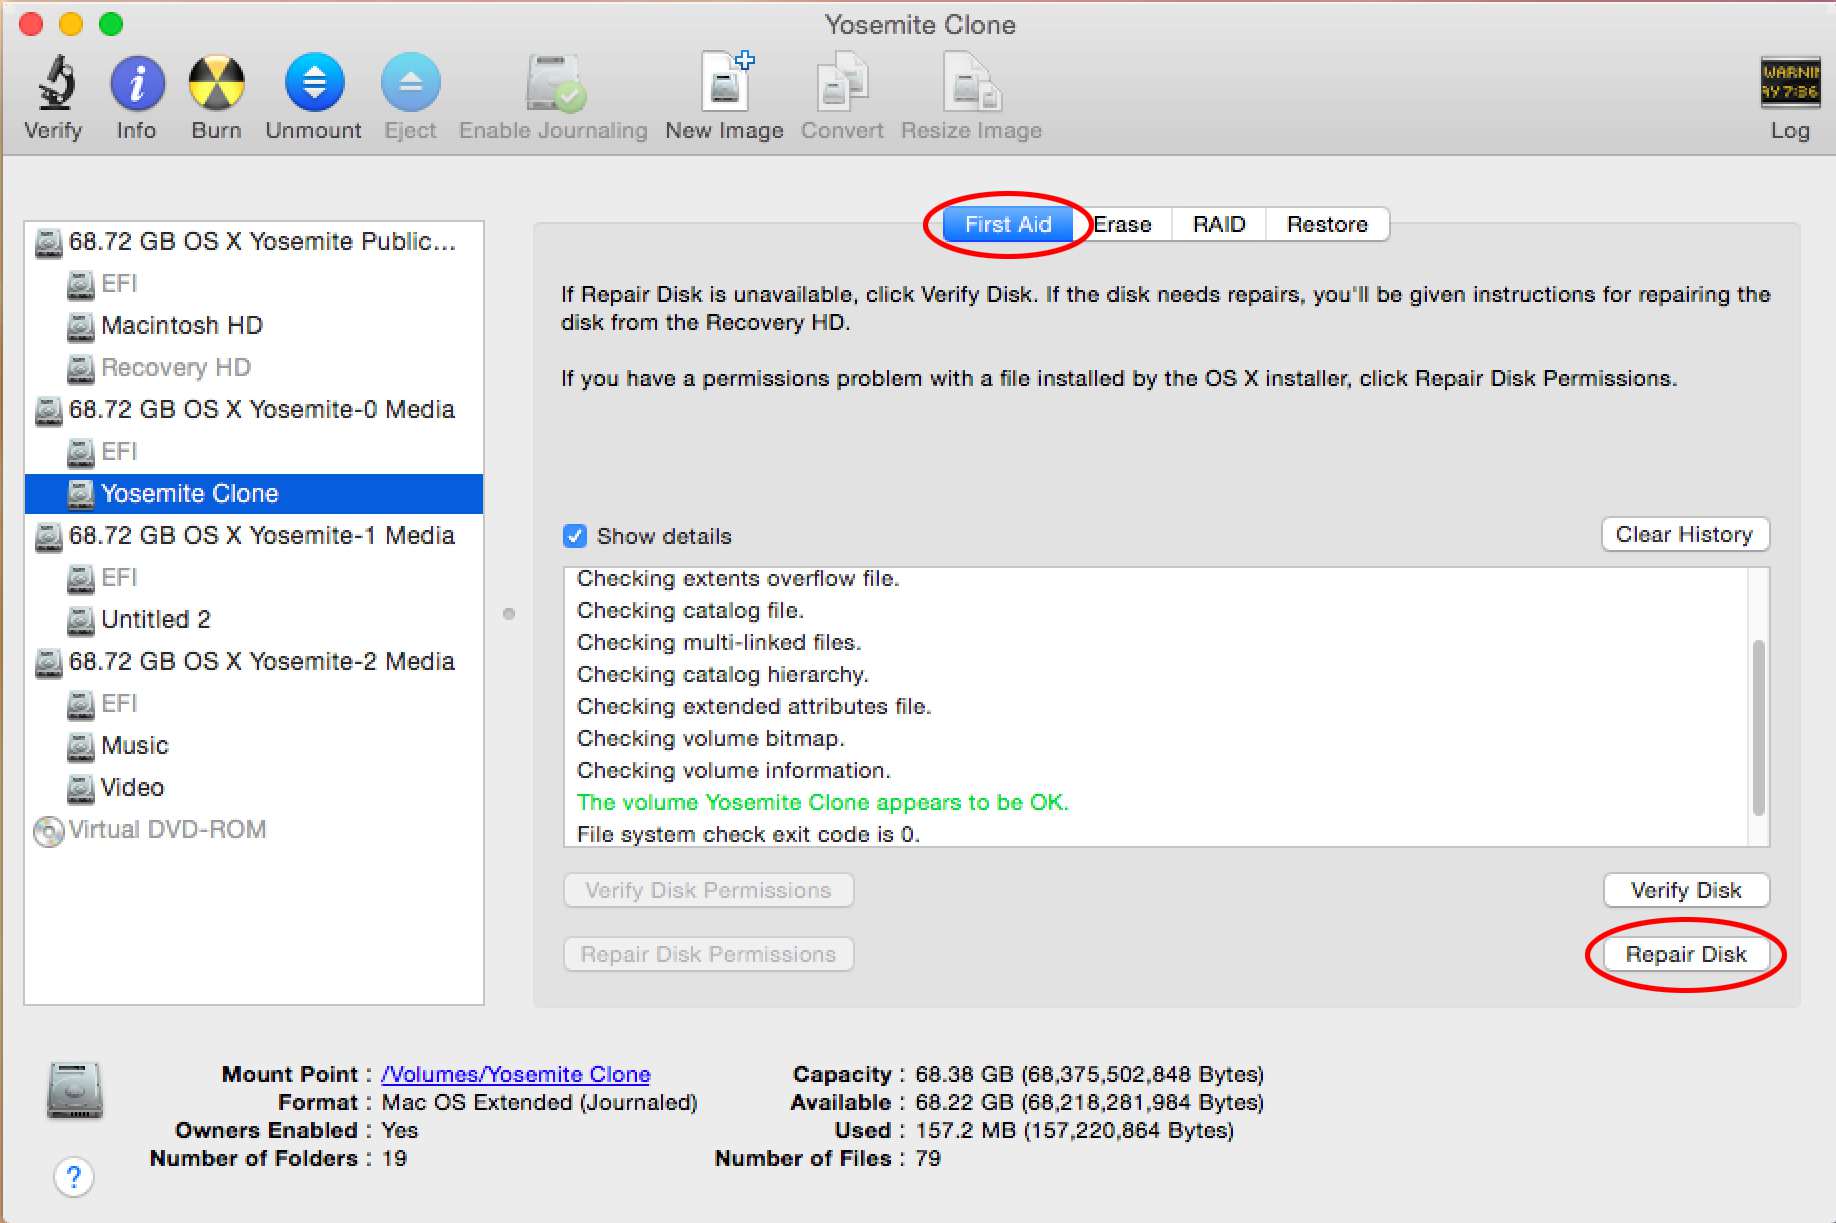
5. Running First-Aid
Running First Aid on your main Hard Drive can sometimes fix the problem. Here’s how you do it:
- Press and Hold Command+R and click on Restart
- Keep Holding it while restarting and you will now Boot into Recovery Drive
- Open Disk Utility
- You will find the Option of Run First Aid, do it for your main drive (Macintosh HD by default).
- Close Disk Utility and Restart your Mac
This should easily resolve your issue and the MacOS Could Not Be Installed On Your Computer will not come anymore.
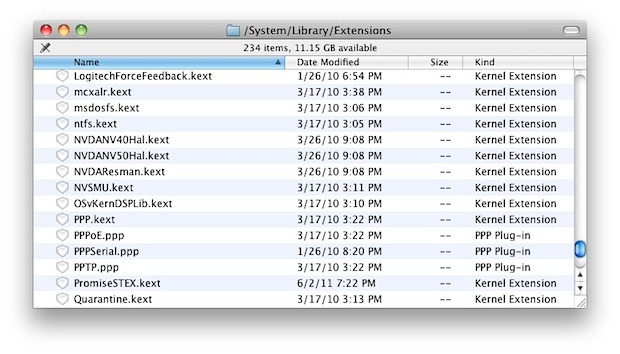
6. Third Party KEXT Files
If none of the above solutions work, it could be because of the third party KEXT extensions. These could be causing the error MacOS Could Not Be Installed while installing High Sierra
KEXT files get added in your Mac unknowingly when third-party devices such as pen drives and others are attached to your Computer. You can resolve the issue by checking the third party extensions that are present on your Mac or Macbook.
This is very easy, and you can do this by following the steps here:
- Open Terminal on your Mac
- Type the following:
Kextstat | grep –v com.apple
- You will now see all the third party extensions currently present on your Mac.
- Now that you have the list, you can try removing the Kext files and see if it works.
- To do that, if the KEXT file name is ‘LAUNCH’ (say), then type this;
sudo kextunload /System/Library/Extensions/LAUNCH.kext
- Once this is done, and you have removed the KEXT files, you can check if they have been removed using Step 2.
Now, try to install the updates. Your Mac/Macbook should now be able to install the update as usual, and you won’t face any more problems.
Final Verdict
We hope that by reading this article, you were able to resolve the error MacOS Could Not Be Installed On Your Computer on your Macbook easily, and that your Mac was updated to the latest OSX version. If you have any further queries regarding the methods mentioned in this article, you can drop us a comment below and we will try to get back to you with a relevant answer.

![How to Open RAR Files on Mac [Free Tools] – 2024 Guide](https://www.digitalcare.top/wp-content/uploads/2024/03/open-rar-file-211x150.jpg "How to Open RAR Files on Mac [Free Tools] – 2024 Guide")
![4 Ways to Zoom in on Mac [Mouse, Keyboard, Trackpad] – 2024 Guide](https://www.digitalcare.top/wp-content/uploads/2018/12/mac-211x150.jpg "4 Ways to Zoom in on Mac [Mouse, Keyboard, Trackpad] – 2024 Guide")