Etching can be a beautiful process that you can use to add a personal touch to your photos. And if you’re new to the hobby, there are a few things you need to know before starting. In this post, we will discuss some tips for beginner etchers, including how to choose the right tool for the job, how to clean your equipment, and more. So whether you’re a seasoned pro or just starting out, read on for all the advice you need to get started with photo etching at home.
What is Photo Etching?
Source: youtube.com
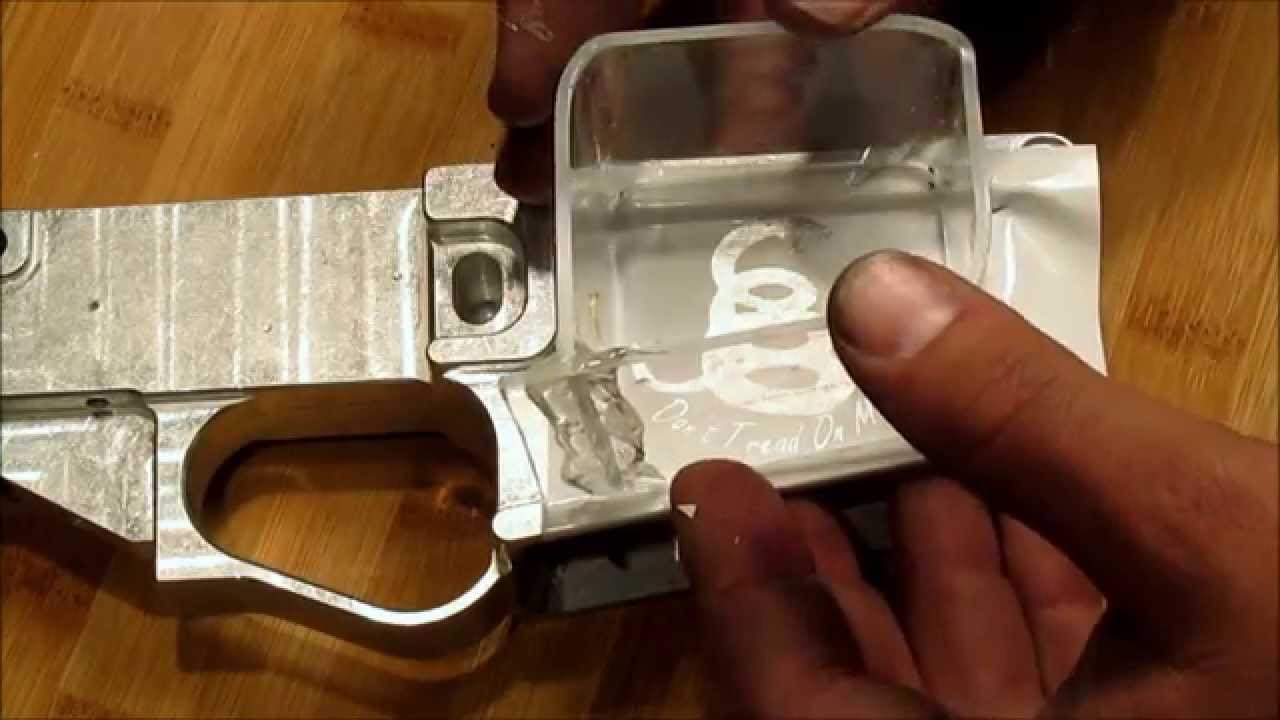
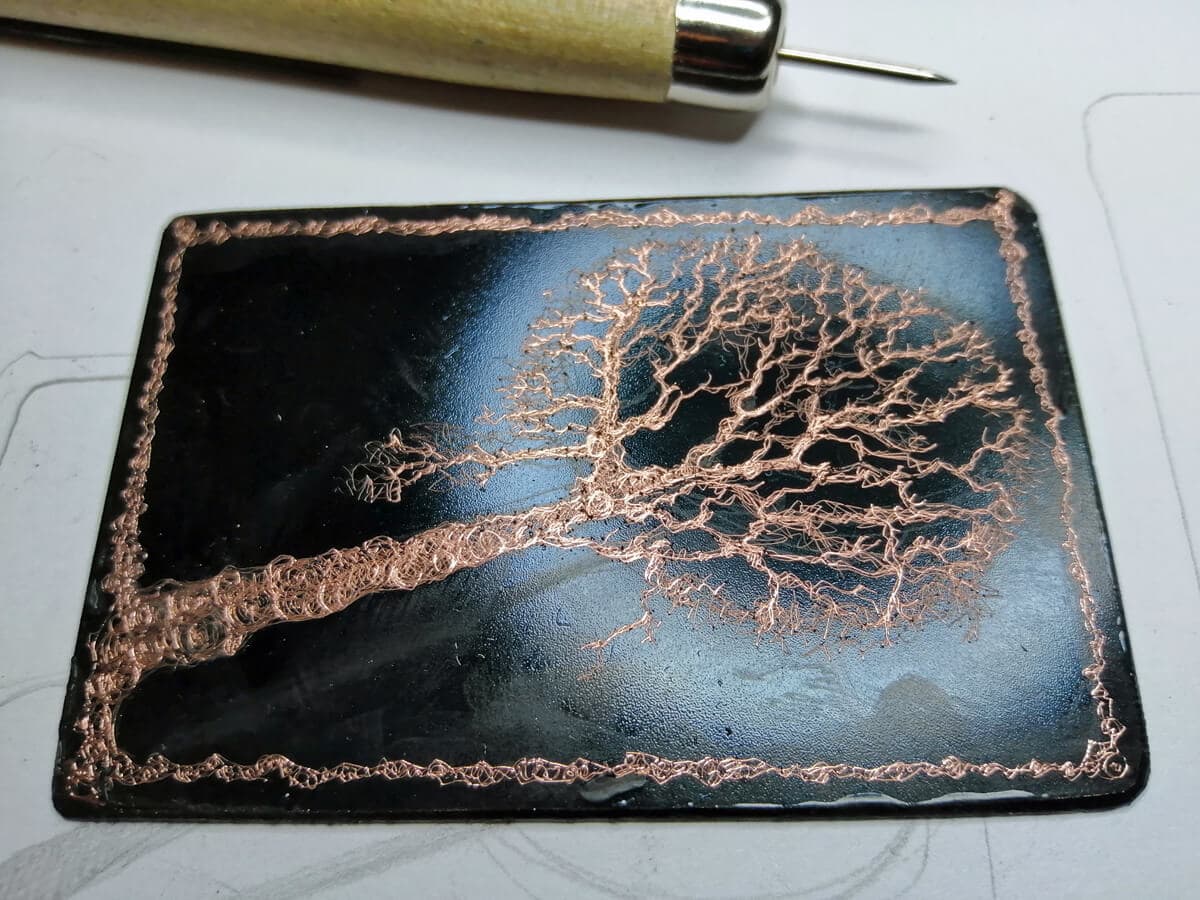
Photo etching is a technique used to create images on metal, plastic, or other materials by using an acid etch. Acid etching is a process where a chemical solution is used to remove material from the surface of the object being etched. The process can be done manually or with automated machines.
There are many different types of photo etching available, each with its own set of benefits and challenges. This guide will outline the basic steps involved in creating your own photo etched pieces, while providing some tips and advice for beginners.
Photo etched pieces can be created in a variety of shapes and sizes, depending on your desired result. Some common techniques include cross-hatching, flame cutting, and dry brushing. Once you have mastered the basics, you can start experimenting with different image effects and styles to create unique pieces of art.
Photo etched artwork can be used in a variety of applications, including decorative items, signage, and jewelry.
Tips for Making a Great Etching Plate
Source: janebaxter.co.uk
If you’re new to etching, there’s a lot of information out there on how to make the process work. The key is to find a tutorial or video that’ll walk you through the basics step-by-step. But even if you’re an experienced modeler, there are a few things you can do to improve your results when etching. Here are five tips for making great prints:
- Use a quality print material. The image will be reproduced more faithfully on a good print stock than on a cheap one.
- Prep your print material well before printing by cleaning off any excess oils, dusts, or toners that may have built up over time. This will help avoid any unwanted blemishes in your final print.
- Be mindful of the filtration settings and use them sparingly when printing large images or images with lots of fine details. Too much filtering can cause loss of detail in your image, and will also make it harder to see the effects of etching in the end result.
- Make sure your tools are sharp and properly calibrated before starting any kind of print job–even if they’ve been used countless times before without issue! Incorrect tool settings can cause unexpected damage to your prints, leading to frustrating and time-consuming repairs later on down the line.
- Finally, enjoy your prints as much as possible! Etching is an intricate process that takes some practice to get.


