Snipping tool is one of Microsoft’s most famous applications, and for good reason. Taking Screenshots has never been easier. But what if you want to use Snipping Tool on Mac? Read on to find out how to take screenshots just like Snipping Tool very easily, along with 10 different applications that you can use as Snipping Tool for Mac to help you.
(The tool used for this article will not be disclosed, but ask nicely and we might give you a hint ¯\_(ツ)_/¯ )
Is there a Snipping Tool for Mac?
Even though the exact Snipping Tool software isn’t available for Mac, just like Snipping Tool for Windows, Mac OS X presents users with its own Screenshot Utility, ‘Grab’.
Along with Grab, there are tons of other Third-Party applications, each better than the other, available that you can use to make the best out of Screenshots.
11 Best Snipping Tools for Mac
Here are 11 of the best and extremely useful Snipping Tools for Mac:
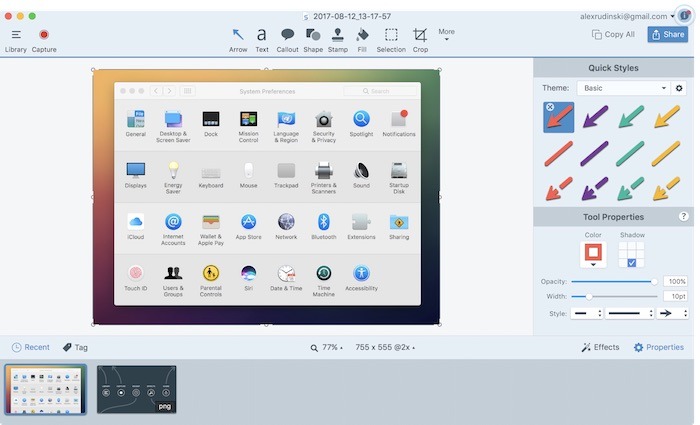
1. Apeaksoft Screen Recorder for Mac
First of all, I would highly recommend Apeaksoft Screen Recorder for Mac as one of the best snipping tools available for macOS. This is an all-in-one screen recording and capture tool for Mac users. With its user-friendly interface and powerful features, this tool provides an exceptional screen recording and snipping experience. Apeaksoft Screen Recorder allows you to capture any part of your screen with precision, whether it’s a specific region, an entire window, or the full screen. Its flexible capturing options provide convenience and versatility for various snipping needs. Additionally, this Mac snipping tool offers customizable hotkeys, enabling quick and efficient snipping. With its advanced editing functionalities, you can easily annotate and enhance your snips by adding texts, shapes, arrows, and more. Furthermore, Apeaksoft Screen Recorder ensures high-quality snips with customizable output formats and resolutions. You can save the captured screenshot as JPG/JPEG, PNG, BMP, GIF, TIFF format.
Except working as a snipping tool on Mac, Apeaksoft Screen Recorder can also be used to record any video and audio on Mac, making it ideal for creating tutorials or capturing online meetings. Overall, Apeaksoft Screen Recorder for Mac is a reliable, feature-rich, and user-friendly snipping tool that caters to all your snipping needs on macOS.
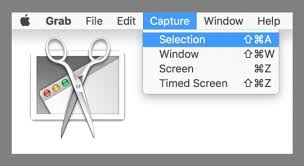
2. Grab
Grab is the official Screenshot Utility application you get in mac-OS 10.14 and greater versions. It supports various screen captures modes, like capturing a marquee selection, whole window, whole screen, and timed screen. Grab comes with the mac-OS itself, and is extremely user-friendly.
You can use keyboard shortcuts in Grab to take screenshots even quickly and easily. Find it in the Utilities folder in Applications.
3. Monosnap
Monosnap is one of the best third party screenshot apps for Mac. Supporting the usually selected window, Part of the Screen and Full Screen capture modes, it also has annotation tools once you capture your screen.
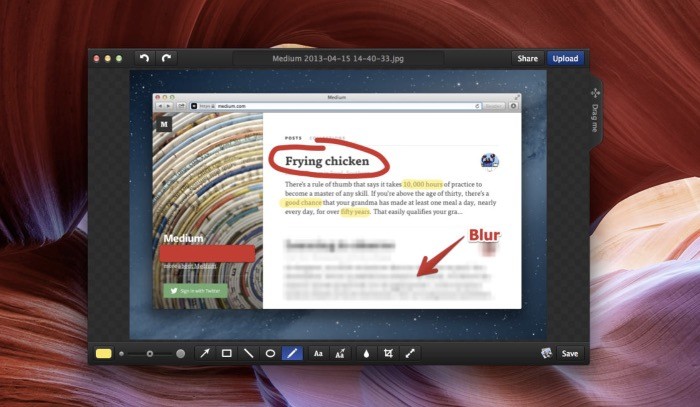
You can choose the format for the image file, and also send the capture to another application where it can be used, like Adobe Photoshop.
Along with free cloud storage, there is also functionality for you to Capture a Video, and use the Front Facing camera of your Mac with the Screen Video in the Monosnap app. You can also get the Pro Version with added features. Go Check it out on the App Store or:
4. CloudApp
CloudApp is a Mac Snipping Tool equivalent that can capture images, video, webcam, and GIFs and claims to do it up to 300% faster. CloudApp is faster to access as it comes on the toolbar as soon as you download so that ultimately you save as much as a minute and a half on Screenshots. Annotations can be added to the capture. You can upload large files of various types, share your video’s link and apply for optional password protection in CloudApp.

Another thing that stands out in this app is the fact that in the collection of images, you can find the relevant image in an organized manner by searching using text, objects or attributes, for example, a certain that you remember being prominent in the image.
5. SnapNDrag
If you are okay with spending a little more than you normally would for a Screenshot application, SnapNDrag is very useful for you. It costs 10$ for the full version, with added costs for extra features.
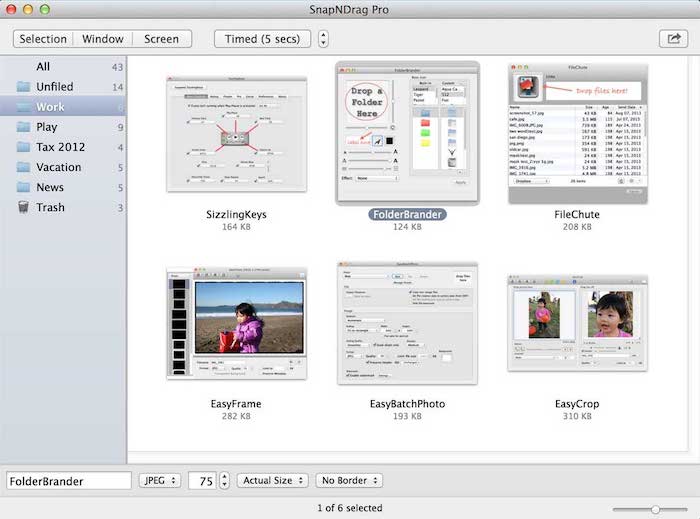
However, if you do buy it, you will get amazing features like its convenient Library, which is where your Screenshots would go. You can share the Capture to Mail, Messages, Twitter, Facebook etc., annotate your screenshot, have multiple output formats (PNG, JPEG or TFF). The Pro version comes with features like Border and Scaling option, keyboard shortcuts, batch rename and more.
The highlight of the app lies in its ease of use, ever since SnapNDrag had started out as a small application. Try your hands on the free version, and if you are willing, spend on the Pro version:
6. Lightshot
Lightshot is not as fancy as some of the previously mentioned screenshot applications, and might not have some features, but it is definitely very useful, convenient and worthy of being a Snipping Tool alternative for your Mac.
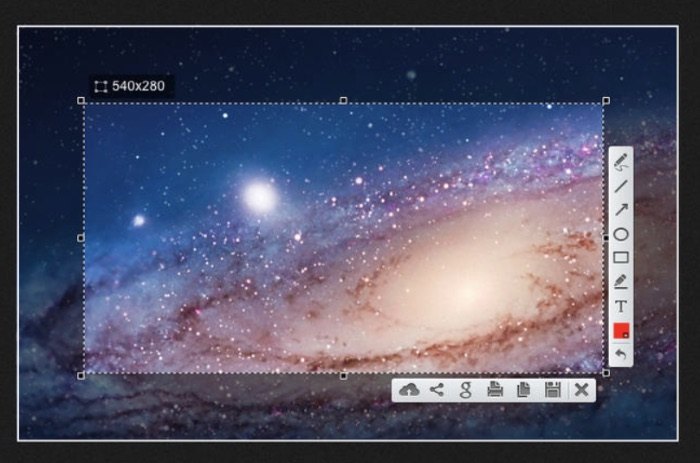
It is fast, you can annotate very easily, and basic customization is available for your Captures. The Screen Editor, once you capture the screen is pretty decent. In short, LightShot does justice to its name: light application, quick and extremely user-friendly.
If you are comfortable with an easy basic software dedicated to capturing Screenshots, get LightShot over here:
7. Snagit
Snagit is a powerful Screen Grabber that supports mostly all features previously mentioned, including sophisticated Image editing and Screen Recording. It is the most powerful software in this list.
One of the highlights of this software is its aesthetic interface which is important to a lot of users. The software is used by Businessmen, Content Creators, etc. Using it is convenient to maximize your reach, for whatever purpose you capture your screen. It encompasses more annotation and other features than you can imagine, allowing to customize pretty much anything you want.
For Users that are interested in the full range of features, you have to pay the amount of 50$, but for the most powerful equivalent of Snipping Tool for Mac, the price is definitely worth it.
8. Jing
Jing is another useful Snipping software for your Mac. It can be described as slightly a less powerful Snagit, but features like History, instant saving to video, and being discreet make it a decent piece of software from Techsmith to get for your Mac. You can also share your capture once you take the Screenshot on the Jing app.
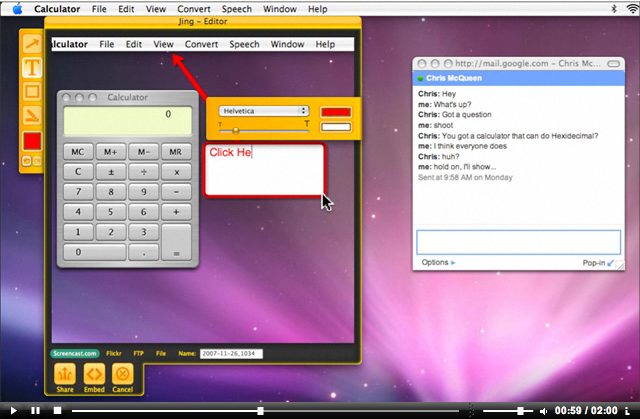
Note though, it is prone to crashes and is considered weak when it comes to resizing your captured images. You can still try it out to see if it suits you here:
9. Snapz Pro X
Arguably one of the oldest Screenshot applications to be used on Mac platforms, Snapz Pro X has been used by old as well as new Mac users. It is extremely powerful, and creating capture videos is especially convenient in this application, hence it is used extensively to create content that requires screen captures such as tutorials etc.
The Screenshot you take can be edited, annotated with a wide range of powerful customization. This piece of sophisticated software, however, does come at a whopping sophisticated price of 69$.
If you have been using previous versions of this application and feel comfortable with it, it might be for you.
10. Jshot
Jshot is a pretty basic screen grabber software but has decent use. It takes screenshots faster and processes it faster than a lot of its other competitors. It has annotation features, with functionality to share your Capture very easily.
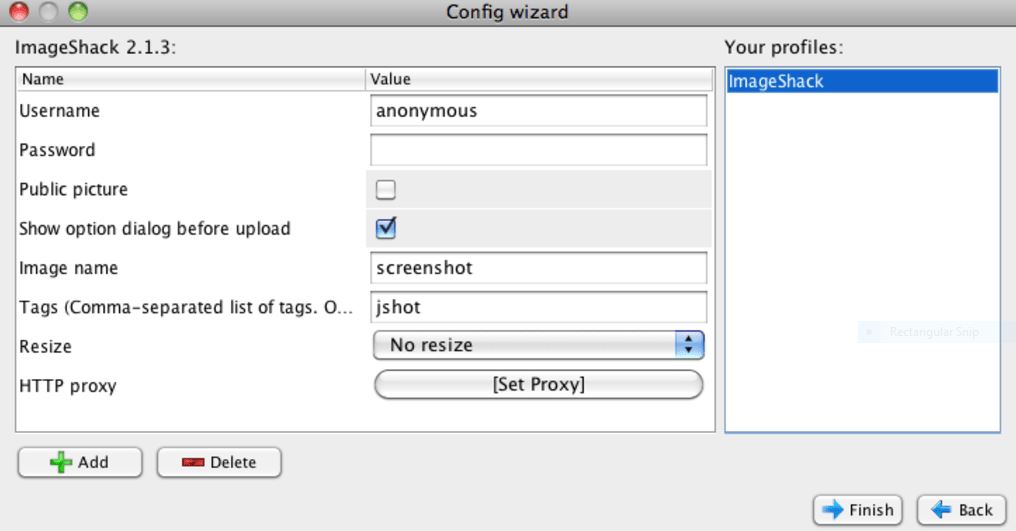
However, it doesn’t support custom shapes and images. Also, the Mac version of this software lacks some features, so it can pretty much satisfy your basic needs-just don’t expect anything too fancy from this software.
11. Skitch
Annotation features. Anyone familiar with the software will let you know annotation as its selling point. Creating annotations on your captured image is extremely smooth, and Skitch has a very decent screen capturing interface otherwise.
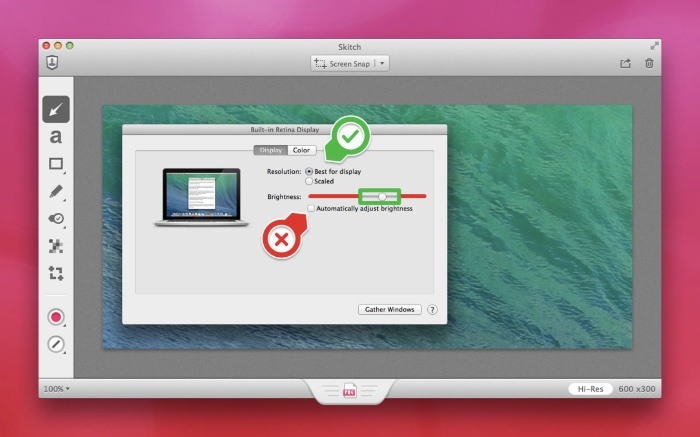
Some users go as far as to use it just for the Annotation features. If you are a user or content creator for whom annotation is extremely important, definitely go for this:
How to use Snip or Capture the Screen Using any Tool (Basic Steps)
- Open your desired Mac Snipping Tool for capturing Screenshots.
- Select the mode of Capture (Entire Screen, Window, Rectangular, Free Form etc.).
- Where it is required, select the area of the screen to be captured using the crosshair.
- Click on Capture.
- Annotate your image (if functionality exists), or edit it with the tools present in your Snipping Tool equivalent.
- Save your image with the desired Format.
All Set! You have successfully taken a screenshot with your Macbook snipping Tool.
Also Read: How to Print Screen on Mac
Final Take!
I hope by reading this article, you have successfully picked out the best Snipping Tool for Mac according to your preference and requirements, and you have learned how to take a Screenshot on Mac using any of these applications.
If you have any further queries regarding Screen grabbing on Mac, or these tools and their usage, drop us a comment and we’ll do our best to respond back to you with a relevant answer. Keep browsing our website for more interesting articles.


![Fix iPhone Home Button Not Working Problem [4 Methods] – 2024 Guide](https://www.digitalcare.top/wp-content/uploads/2019/06/phone-211x150.jpg "Fix iPhone Home Button Not Working Problem [4 Methods] – 2024 Guide")