If you’re into 3D rendering or 3D art, you must’ve heard about PBR texturing, but maybe you don’t know what it is. Well, today, we’re going to explore the world of Physically Based Rendering or PBR and tell you all you need to know about it – without getting too technical. So, let’s get started.
What’s PBR?
PBR or Physically Based Rendering is a texture workflow that aims to emulate how the light reflects and refracts off of various surfaces in an attempt to simulate the real-world surfaces and materials. Another way to look at it is as a concept of using shading and lightning against created models to accurately represent real-life objects and materials. Essentially, it is a way for 3D modellers to render a realistic model of any kind.
It doesn’t matter whether we’re talking about the gaming industry or CG and VFX – PBR is one of the most often used tools and workflows in many industry-leading software like Substance Painter, Mari or 3D Coat, or game engines like Unreal Engine or Unity. Judging solely from that, it has become obvious that PBR textures have become or will become an integral part of the 3D artists’ workflow.

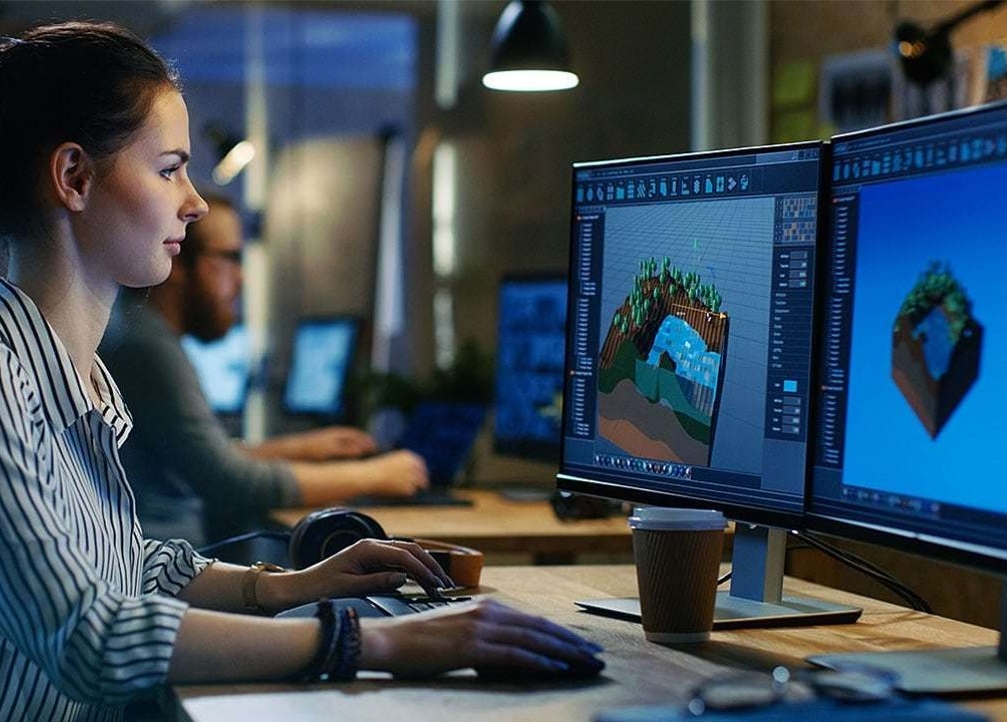
Img source: virtualcoder.co.uk
Why Was PBR Introduced?
Rendering takes a lot of time and effort, especially if you’re dealing with a large project that deals with a lot of different textures and materials. Imagine having to design and render a street in an open-world game. You’d have to render pavement, road, buildings, houses, windows, cars, clothes, trees, people, road signs, and so, so many more things.
Since rendering includes dealing with light and shadows from various sources, angles and so on, this process took way too long to finish. 3D artists have had to go through a series of steps to try and replicate real-life lighting and shadings conditions as accurately as possible. The thing is, they had to do it all by themselves by involving shaders into the mix, and even though high-end artists managed to do this quite well, their work was not an exact science, and it lasted for way too long.
However, all of that has changed with the introduction of PBR and the Substance Painter software we mentioned earlier. This software and this new technology had sped up the process to a point where you’d do three days worth of work in a matter of hours. It achieved this by making the entire process so much simpler. Even so, that you could start working with textures without any significant prior experience in texture-creating, which was unimaginable before.
How Does PBR Texturing Work?
PBR texturing might sound simple to some of you (because we’ve made it out to be), but in reality, it takes a lot of hard work and dedication to create and/or use a good texture whether you want to we’re talking about a simple, smooth, glossy texture or a cracked concrete one. Or, if you don’t want to create one, you can always look up www.cgrepo.com and use the ones they’ve created.
Now, if PBR is a texture workflow, PBR texturing is the process. It is the process of creating a digital 2D image (a texture) that contains crucial information, like surface and colour, which will, later on, be projected onto a 3D model of an object through a workflow. The lines are a bit blurred, we know.
When working with PBR textures, you will have the option to choose between two different workflows. These two are the heart and soul of PBR, and they’re called Metallic Roughness and Specular Glossiness workflow. Solely judging by the name, you’d probably say that these are the complete opposite, but the thing is, they’re quite similar, and they will give the same results, which is why most rendering tools and engines support both of them.
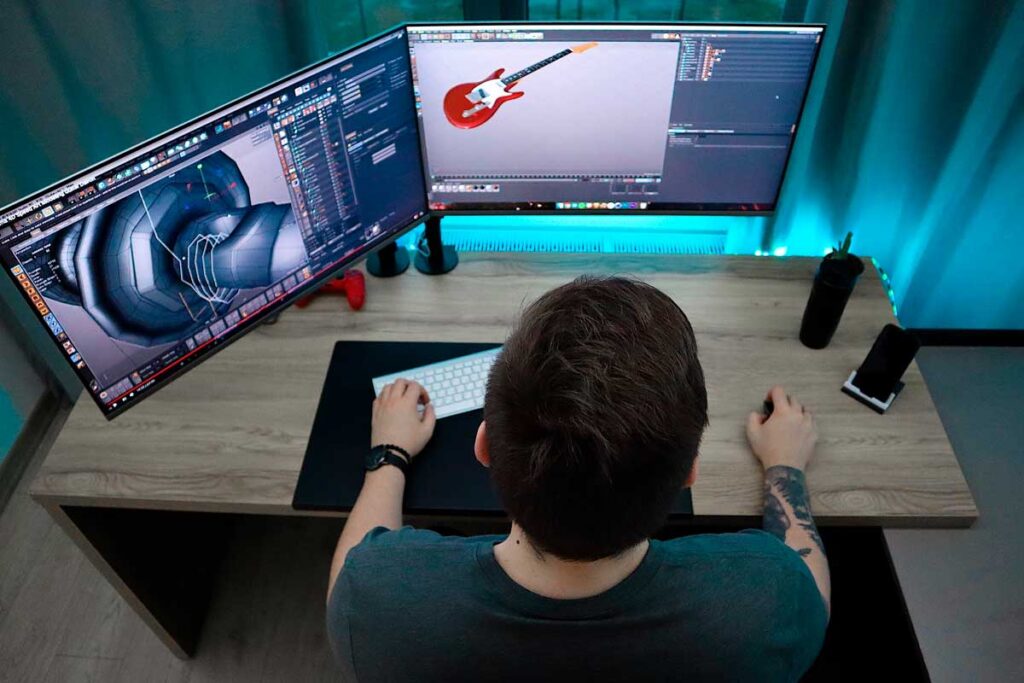
Img source: all3dp.com
What’s Metallic Roughness?
We know that it is a workflow, but that really doesn’t mean anything to us, doesn’t it? So, let’s call it a model, for now. Metallic Roughness is a model that consists of three channels. By channels, we mean elements, like RGB colour has three channels – red, green and blue.
The channels are Base Colour, Roughness And Metallic. Base Colour contains the colour information but no lighting information. The Roughness determines how much light is absorbed (100% is rough and absorbing, 0% is smooth, shiny and reflective). And finally, Metallic simply dictates is the material is metallic or not, as well as everything in between.
The theory behind it is that if an object were to contain these three, or better yet, the information behind these three, we would be able to accurately simulate light’s reflection. So, you give an object three exact values – Base Colour, Roughness And Metallic, and based on that – you get an accurate representation of light’s reflection. Then, you combine these three into a texture map, you mix all that up together, and you get a new, shiny (or not shiny, depending on what you were aiming for) rendered object.
What’s Specular Glossiness?
Once again, we have a three-channel workflow or a model that works based on the same principle as Metallic Roughness, so we won’t get into that again. Now, there is a reason why most artists prefer Metallic workflow, and it’s because Specular Glossiness can get a bit confusing.
The three channels are Diffuse Glossiness (Albedo), Specular and Normal. Albedo is a colour channel, sort of. Unlike Base Colour, Albedo does not contain colour values for the reflectiveness of metals (you can do that elsewhere). Specular is sort of like Metallic, although, with Specular, you can assign and adjust the colour values of the reflectiveness of metals. Why these two are so intertwined is too technical to try and explain, so we’ll just move on. Finally, Glossiness is essentially inverted Roughness. So, it’s smooth at 100% and rough at 0%.
Img source: format.com
Final Thoughts – Should You Use PBR?
As scary as it might seem to someone that’s just entering the world of 3D modelling, PBR is actually the best thing that has happened to the industry in a really long time. So, yes, by all means, you should use PBR. It doesn’t matter whether you’ll use Metallic or Specular is entirely up to you, but implementing any of these into your workflow. It’ll make your life hell of a lot easier.


